
Supply and Demand Zones: A Smart-Money Trading Guide

 Prefer us on Google

Supply and demand zones are areas on a chart where a significant imbalance between buyers and sellers has pushed price sharply away. The concept sits at the heart of what many traders call "smart money" or institutional-style analysis, and it is a natural extension of support and resistance within technical analysis.
Demand and supply, defined
A demand zone is a price area where buying was strong enough to overwhelm selling and drive price up quickly. A supply zone is the opposite: an area where selling overwhelmed buying and price dropped fast. The idea is that when price returns to one of these zones, unfilled orders may still be waiting there, so the area can produce another reaction.
How zones differ from support and resistance
Support and resistance are usually drawn as horizontal lines based on where price has turned before. Supply and demand analysis refines this in two ways:
- Zones are drawn as areas (a band of price), not single lines — typically around the consolidation or "base" that preceded a strong move.
- The emphasis is on the origin of a strong move — where the imbalance began — rather than simply on prior highs and lows.
In practice the two concepts overlap heavily. Many traders treat supply and demand as a more precise, cause-focused version of support and resistance.
How to identify a zone
The classic method looks for a sharp move that leaves a clear "base" behind it:
- Find a strong, impulsive move (a run of large candles).
- Trace back to the small consolidation or single base candle it launched from.
- Mark that base as the zone. A demand zone sits below current price; a supply zone sits above it.
Reading the candles inside and around the base — a core price action skill — helps you judge how decisive the original move was. Fresh zones that have not been revisited are generally considered more significant than ones price has already tested several times.
How traders use zones
Traders use supply and demand zones to anticipate where price might react, so they can plan in advance rather than chase moves. A demand zone can frame where buyers might return; a supply zone can frame where sellers might re-emerge. As with any level, the zone also provides a logical point of invalidation: if price moves cleanly through it, the premise is gone. Zones become more compelling when they line up with other signals — a Fibonacci level, a moving average, or a candlestick signal — a situation known as confluence.
Supply, demand and futures
Because these zones frame both potential buying and potential selling areas, they suit crypto futures traders, who plan for moves in both directions. On WEEX, mapping a demand zone or supply zone onto a futures chart gives a clear structure: a level to watch and a level that invalidates the idea. That structure is what makes controlled position sizing possible — and it is especially important with leverage, which magnifies losses as much as gains. A zone is a planning tool, not a promise that price will turn.
Fresh zones vs tested zones
A useful distinction is between a fresh zone that price has not returned to since it formed, and a tested zone that price has already revisited one or more times. Each time price taps a zone, some of the resting orders there are filled, so the zone gradually weakens. This is why many traders give the most weight to the first reaction at a fresh zone and grow steadily more cautious about a zone that has already been tested several times.
Limitations
Zone drawing is partly subjective — two traders may mark slightly different areas — and no zone holds indefinitely. In a powerful trend, price can blow straight through supply or demand without pausing. This is why confirmation, confluence and defined risk matter more than the zone alone.
Key takeaways
- Supply and demand zones mark areas where an order imbalance drove price sharply away.
- They are a cause-focused, area-based refinement of support and resistance.
- Identify them from the base that preceded a strong impulsive move; fresh zones carry more weight.
- They work best with confirmation and confluence, and always with defined risk.
Continue with support and resistance, price action, and candlestick patterns.
This article is for educational and informational purposes only and does not constitute investment, financial, or trading advice. Cryptocurrency trading — especially futures trading with leverage — carries a high level of risk. Always do your own research before making any decisions.
Disclaimer: This content is provided for general branding and informational purposes only and doesn't constitute financial, investment, legal, or tax advice. Any events, rewards, online events, or related information mentioned herein should not be considered a recommendation, solicitation, or invitation to purchase, sell, trade, or otherwise deal in any crypto assets or to use any services. Crypto assets are highly volatile and may result in loss. WEEX services and online events may not be available in all regions and are subject to applicable laws, regulations, and eligibility requirements. You are responsible for ensuring that your use of WEEX services complies with local laws and for carefully assessing the risks before participating in any crypto-related activities.
You may also like

Gold Price Outlook 2026: Third-Party Analyst Scenarios (Maintained, Educational)

Silver Price Outlook 2026: Third-Party Analyst Scenarios (Maintained, Educational)
How to Buy Bitcoin in Brazil: A Step by Step Guide for Beginners

Dolar Crypto in Argentina: How to Use Stablecoins for Dollar Exposure and Buy Bitcoin
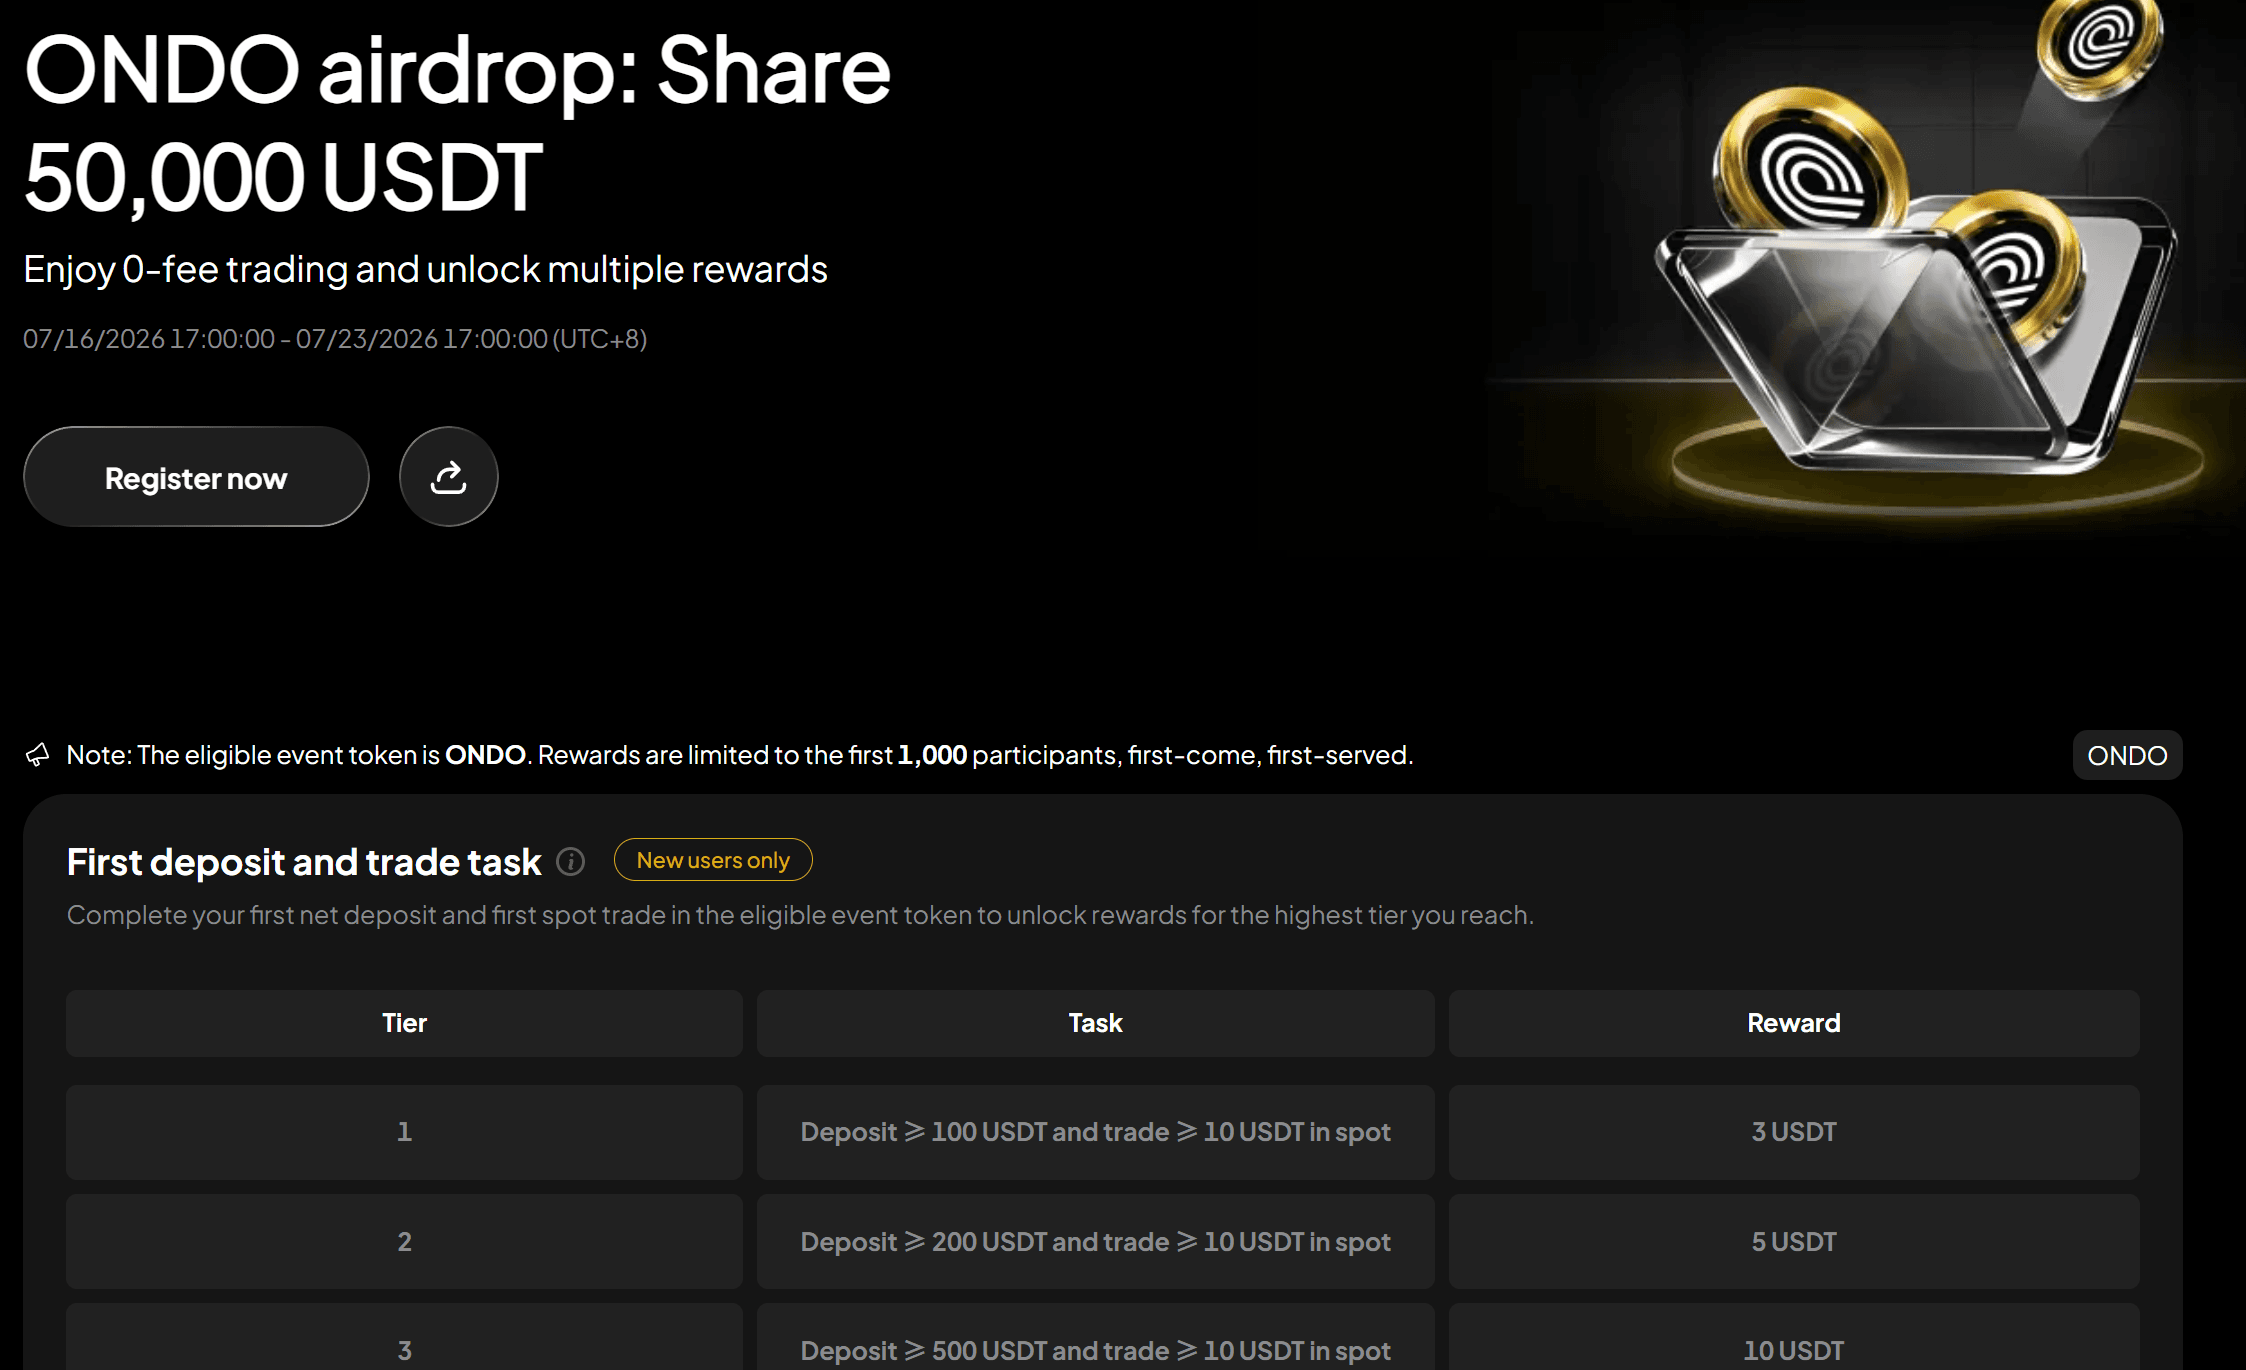
Claim ONDO Airdrop Rewards: Complete Tasks and Share 50,000 USDT
Claim ONDO Airdrop rewards on WEEX and share 50,000 USDT. Learn how to join, complete trading tasks, earn bonuses, and trade ONDO/USDT during the event.

Japan's Crypto Regulation Basics: The FSA, JVCEA, and User Protections

How Overseas Crypto Exchanges Work for Japan Residents (and the Risks)
Modelo 721 Explained: Declaring Foreign Crypto Holdings in Spain

DEX vs CEX for Perpetuals: Trading Perps On-Chain vs on an Exchange

What Is an On-Chain Order Book? How Order-Book DEXs Work
What Is a Perp DEX? Perpetual Futures on Decentralized Exchanges
Italy Crypto Tax 2026: The Capital Gains Rate Rises to 33%
Support and Resistance: How to Identify Key Levels on the Chart
Price Action Trading: Reading Raw Market Behavior

Head and Shoulders Pattern: How to Spot and Trade It

Classic Chart Patterns: Triangles, Double Tops/Bottoms and Flags
Airdrop Farming: How to Farm Crypto Airdrops the Right Way
What Is a Moving Average (MA)? Types and How to Read Them
What Is Elliott Wave Theory? A Beginner's Guide to Counting Waves
What Is Fibonacci Retracement? How to Draw and Use It

What Is the Ichimoku Cloud? A Beginner's Guide to Reading It
What Is the VIX (Fear Index)? How to Read It and Its Link to Crypto
What Is Dow Theory? The Six Principles Explained
What Is a Death Cross? Understanding the Bearish Signal
What Is a Golden Cross? A Beginner's Guide to the Bullish Signal
MiCA Regulation: What Changes for Polish Crypto Investors
Open Interest: What It Means in Futures Trading
Call vs Put Options: What They Are and How They Differ
What Are Sakata's Five Methods? Classic Candlestick Patterns Explained
What Is the FOMC? Meeting Schedule and Why Crypto Reacts
Gold Price Outlook 2026: Third-Party Analyst Scenarios (Maintained, Educational)
Silver Price Outlook 2026: Third-Party Analyst Scenarios (Maintained, Educational)
How to Buy Bitcoin in Brazil: A Step by Step Guide for Beginners
Dolar Crypto in Argentina: How to Use Stablecoins for Dollar Exposure and Buy Bitcoin
Claim ONDO Airdrop Rewards: Complete Tasks and Share 50,000 USDT
Claim ONDO Airdrop rewards on WEEX and share 50,000 USDT. Learn how to join, complete trading tasks, earn bonuses, and trade ONDO/USDT during the event.
Japan's Crypto Regulation Basics: The FSA, JVCEA, and User Protections
Contents
Latest articles



Latest coin listings on WEEX


